

What Is 403 Forbidden Error?

Similar to many other WordPress issues, the 403 Forbidden error is an HTTP status code that a web server uses to communicate with your web browser. “Access to that resource is forbidden.” This message is displayed when a user tries to access a resource they are not authorized to view.
Solutions
Check Security Plugins
WordPress security plugins with improper security settings are the main reason for the 403 Forbidden error. Many WordPress security plugins have the ability to ban an IP address (or a group of IP addresses) if they think it is harmful. You should first temporarily deactivate every WordPress plugin. This applies to any security plugins you have set up on your website. If your problem is resolved then any plugins on your website must be the cause. Activating each plugin one at a time until you can recreate the 403 forbidden error will help you identify which plugin was the reason for the error.
Fix Error By Corrupt .Htaccess File
So what you need to do is to copy the .htaccess code from the WordPress website and edit it in the .htaccess file.
# BEGIN WordPress
RewriteEngine On
RewriteRule .* – [E=HTTP_AUTHORIZATION:%{HTTP:Authorization}]
RewriteBase /
RewriteRule ^index\.php$ – [L]
RewriteCond %{REQUEST_FILENAME} !-f
RewriteCond %{REQUEST_FILENAME} !-d
RewriteRule . /index.php [L]
# END WordPress
People usually use this code for basic WordPress; you can find codes according to your site type here.
Every WordPress installation will include a .htaccess file that you can access through your hosting control panel or FTP client. When you host multiple sites, your web server will also have multiple .htaccess files.
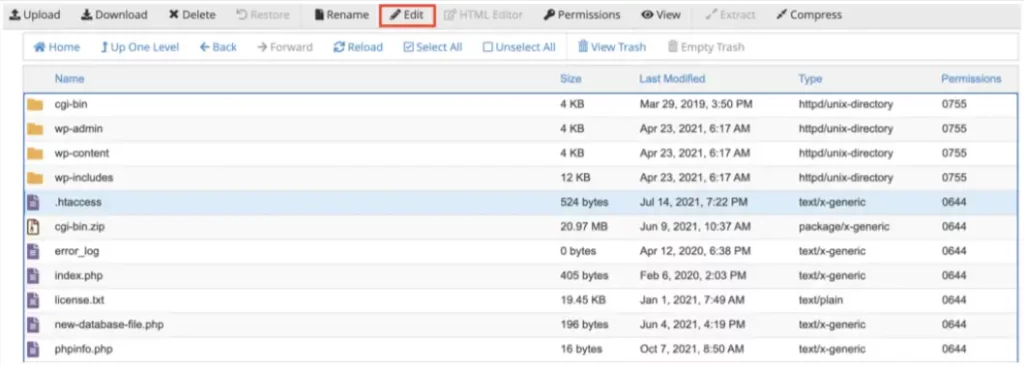
By pasting above code into the file you will be able to remove errors from your site.
Fix Error By File Permissions In WordPress
Simply use an FTP programme to connect to your WordPress website. Go to the root folder where all of your WordPress files are present.
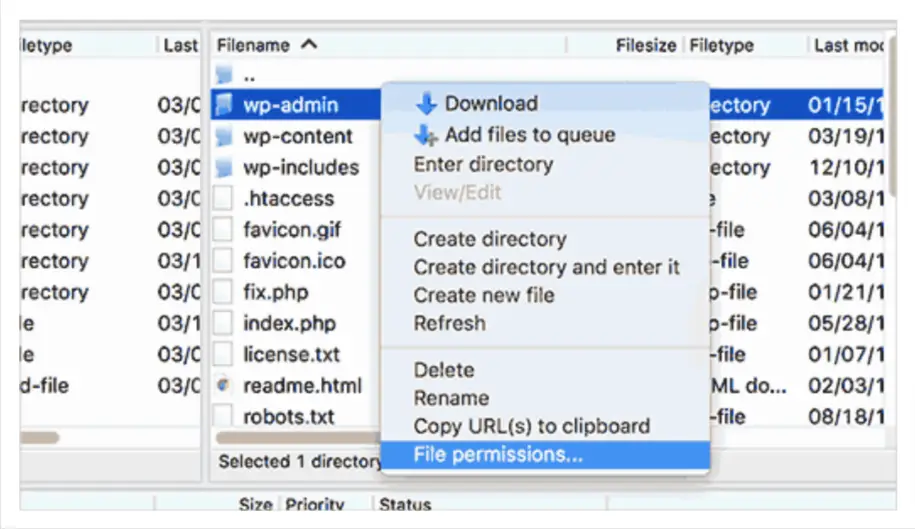
Click to select a folder, then use the menu that appears when you right-click to choose File Permissions.
A file permissions dialogue box like the one below will appear in your FTP client:
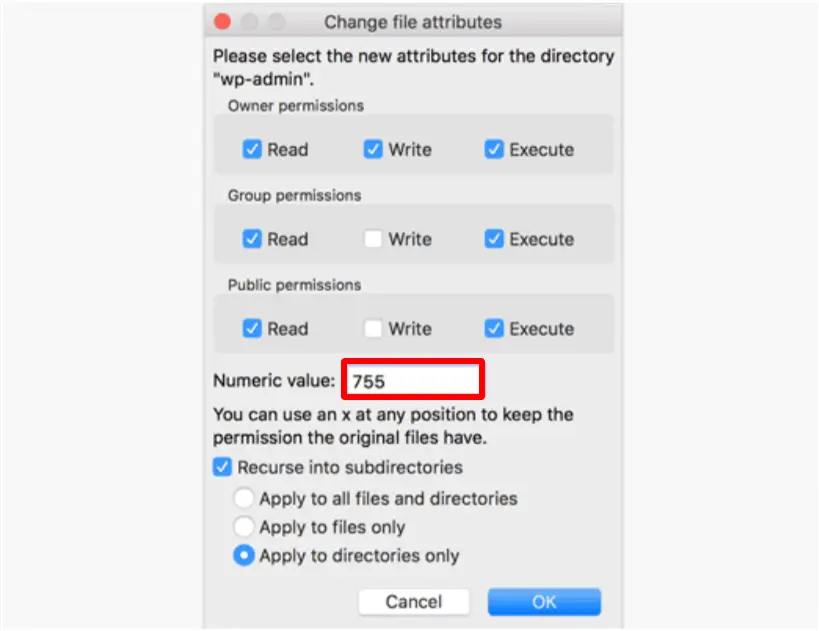
The file permissions for every folder on your WordPress website should be 744 or 755.
The file permissions for every file on your WordPress website should be 644 or 640.
For the root folder, you can choose between the 744 and 755 file permissions. Check the box next to “Recurse into subdirectories,” and then select “Apply to directories only.”
As soon as you click the OK button, your FTP client will begin changing the file permissions for all of the selected files. Your website should now be accessible without receiving a 403 Forbidden message.
Additionally, our detailed guide on are you sure you want to do this error in WordPress will help you resolve issue quickly and efficiently. For further support, Contact Us. Visit LDninjas for more useful tips and resources.


Leave a Reply